A Comprehensive Wood Finishing Guide: How to Properly Sand, Stain, and Finish Your Projects for Professional Results
Achieving a flawless wood finish starts with understanding the right process—and this comprehensive guide shows you exactly how to do it. From proper sanding techniques and surface preparation to staining evenly and applying durable protective finishes, this post walks you through every essential step for professional-quality results. Whether you’re building new furniture, refinishing an old piece, or tackling your first DIY project, you’ll learn how to choose the right sandpaper grits, prevent blotchy stains, apply color evenly, and select the best finish for durability and appearance. Covering popular options like polyurethane, varnish, lacquer, shellac, and oil finishes, this guide helps you confidently protect and enhance your wood projects. Perfect for beginners and experienced woodworkers alike, this step-by-step wood finishing resource will elevate your craftsmanship and ensure your projects look beautiful, smooth, and built to last.
WOODWORKING
Starting a wood project, whether it's building new furniture or refinishing an antique, requires a precise approach to achieve a flawless result. This comprehensive wood finishing guide will walk you through the essential stages of preparing, coloring, and protecting your wooden pieces, ensuring durability and aesthetic appeal. Understanding the entire wood finishing process from start to finish is crucial for both beginners and experienced DIYers aiming for professional-grade outcomes.
Step 1: Meticulous Sanding
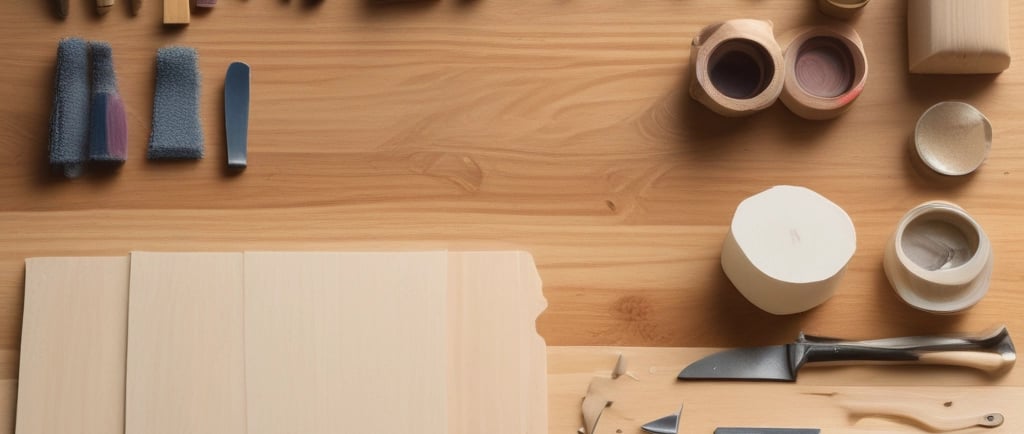
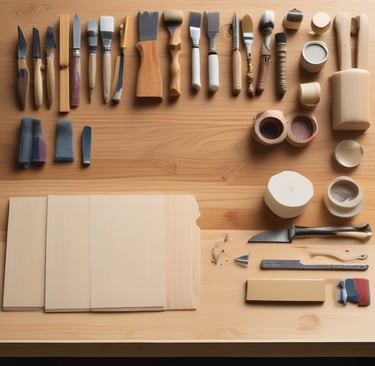
The foundation of any successful wood finish lies in meticulous preparation, starting with how to sand wood properly. It's not just about removing imperfections; it's about creating a perfectly smooth surface that will readily accept stain and finish. Begin with a coarse grit sandpaper (around 80-100) to remove major flaws, then progressively move to finer grits like 120, 150, and finally 180 or 220 for the best sandpaper grit for wood, always sanding with the grain. Proper wood sanding techniques are vital to avoid unsightly cross-grain scratches that become glaringly obvious after staining.
Step 2: Preparing Wood for Staining
Once sanding is complete, the next critical phase is preparing wood for staining. This often involves thoroughly cleaning the surface to remove all dust particles using a tack cloth or vacuum. For woods known to be blotchy, like pine, maple, or birch, applying a wood pre-stain conditioner is a non-negotiable step. This product helps to seal the pores of the wood evenly, which is key to preventing blotchy wood stain and ensuring how to stain wood evenly. Different types of wood stain, such as oil-based, water-based, or gel stains, each have unique application requirements and drying times, so choose wisely based on your project and desired look.
Step 3: The Staining Process
With the wood properly prepared, it's time for the staining process. Follow these wood stain application tips to achieve a rich, uniform color. Apply stain in the direction of the grain using a brush, rag, or foam applicator, working in small sections. Allow the stain to penetrate for the recommended time, then wipe off any excess thoroughly to avoid a sticky finish. If you desire a deeper color, apply a second coat after the first has dried, but remember that multiple thin coats are always better than one thick one. This meticulous approach is fundamental for achieving professional results in DIY wood finishing and refinishing wood projects.
Step 4: Applying the Wood Finish and Protection
Finally, the crucial stage of applying wood finish brings out the wood's beauty and provides essential wood protection. There are numerous wood finishing products available, each offering different levels of durability and aesthetic. For instance, polyurethane wood finish is highly popular for its exceptional durable wood finish and moisture resistance, making it a common choice for how to finish wood furniture. Other options include varnish for wood, lacquer wood finish for a high-gloss, fast-drying result, shellac wood finish for its traditional appeal and ease of repair, or oil finish for wood for a natural, hand-rubbed look. Achieving a smooth wood finish often involves sanding between coats with very fine grit sandpaper (220-320), especially with film-building finishes like polyurethane, to ensure optimal adhesion and a silky feel. Selecting the best clear coat for wood depends on the project's intended use and desired sheen, all critical for professional wood finishing results.
Conclusion
Mastering the wood finishing steps from initial sanding to final topcoat application is a skill that transforms ordinary wood into extraordinary pieces. Whether you're a seasoned crafter or looking for wood finishing for beginners, understanding the nuances of wood preparation for finishing and selecting the right wood sealing method will elevate your projects. By diligently following these guidelines, you can ensure your wooden creations are not only beautiful but also well-protected and built to last for generations to come.